So you want to publish an InfoPath form to your SharePoint library? You came to the right place! Here is a step-by-step tutorial how to publish one:
• First, create your InfoPath form using InfoPath Designer.
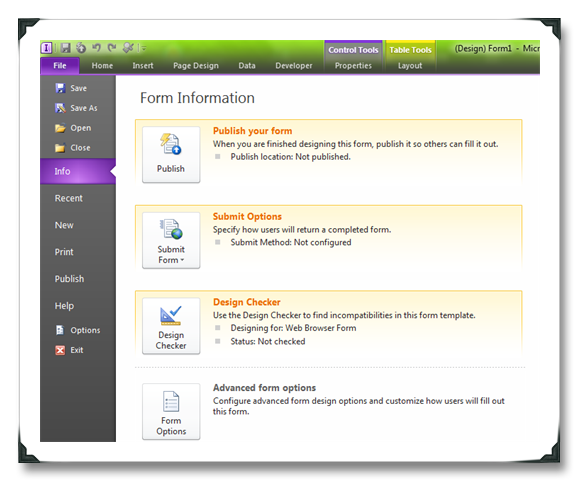
• After creating your InfoPath form, go to the File and select Form Options.
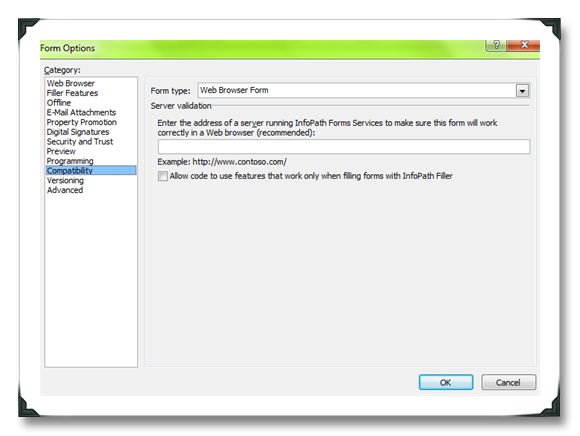
• In form options wizard in category field, select Compatibility and input “Web Browser Form” into Form Type.
• Under Property Promotion, add the field or group using add button. These fields are available as columns in the SharePoint library and on site.

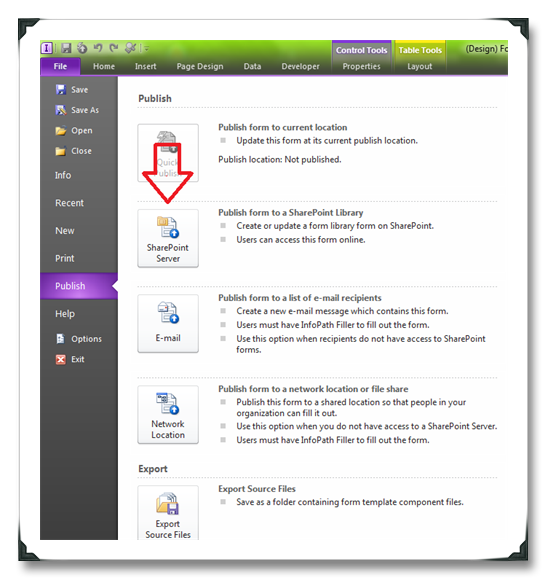
• Next, publish the form to the SharePointLibrary.go under the File Menu and click on the publish, then click on SharePoint Server button found under the Publish Section.
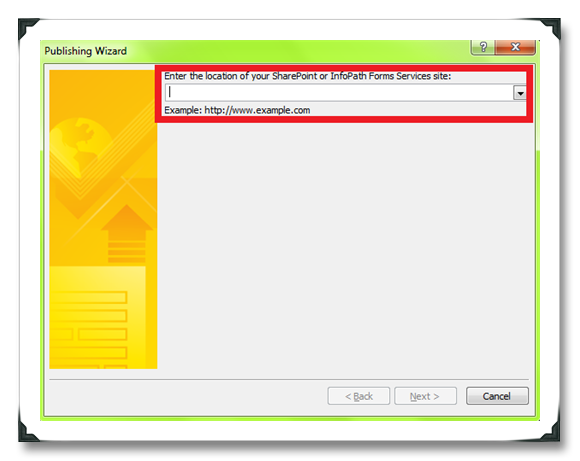
• Publishing Wizard will then appear. First enter the name of your SharePoint site and click next.
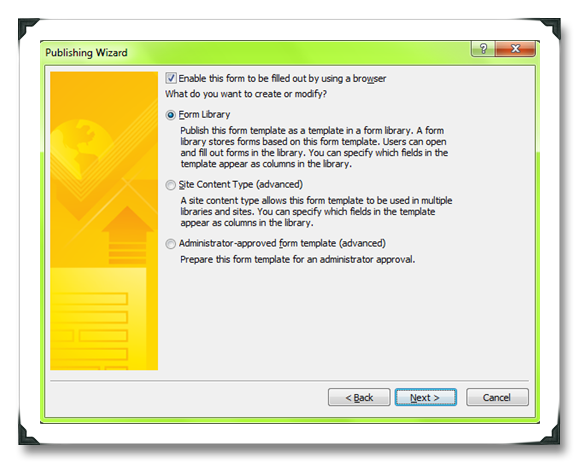
• Then select the Publishing Template Type and click next.
• Select under the Create a new form library the existing form libraries or just create a new library to update the form template. Click next.
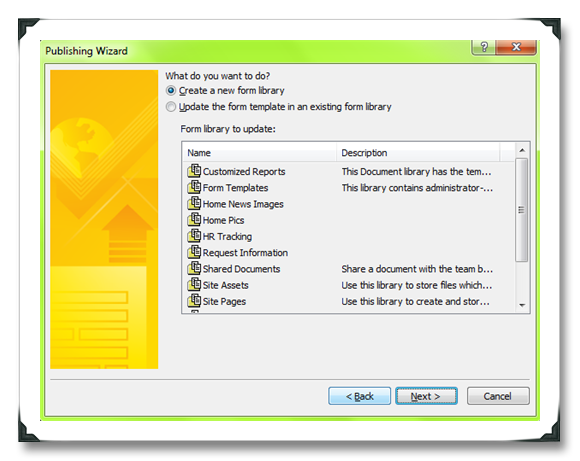
• When you have selected the Create a new library, the next thing is to input the library name. Click next.

• Then click on the Add button and select the fields or group you need to become available as columns in the SharePoint site.
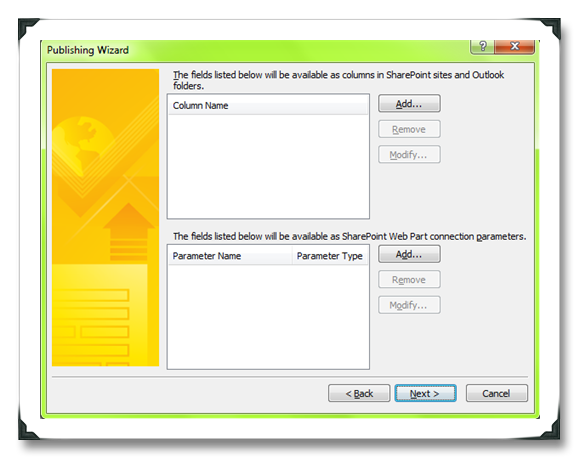
• Then a wizard appears. Select the Site column group as None: Create new column in this library.• Give it a Column Name (Default Name is Form Field Name).• Then don’t forget to check “Allow users to edit data in this field by using a datasheet or properties page” in order to validate the entries in the SharePoint site. Click next.

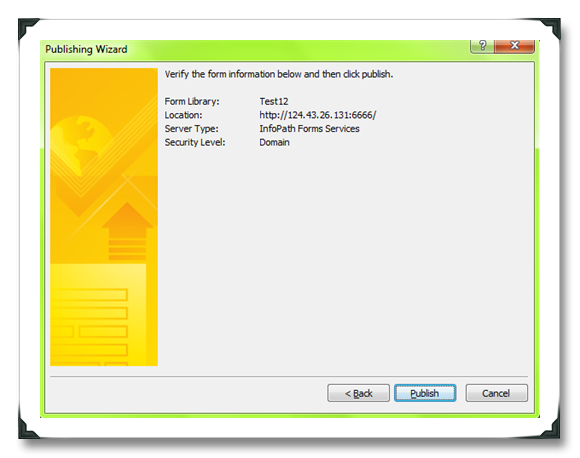
• Finally, publish the form using Publish button.
You have now published an InfoPath form to a SharePoint library!For more articles like this, you can visit hpksanje.wordpress.com. You think this article could help someone? Share using the buttons below!