Written by: Jane Pamela Enriquez and Jordan Cueto
Nothing lasts forever, even Windows 10 Free Upgrade.
Windows 10 is the best and the most secure Windows 10 ever, and upgrading to Windows 10 is FREE, for now. Microsoft is now shutting down the chance for any user to update the Windows 10.
Here are the highlights to remember for updating to Windows 10:
- The free upgrade offer ends on July 29 and will not be extended.
- Any Windows 10 upgrades done on any device will be valid after the deadline.
You have until July 29, 2016 to make up your mind. Our advice for everyone is upgrade now for the reasons that (1) upgrading CAN be undone / downgrading is allowed (2) plus all your files are SAFE.
Here are the Frequently Asked Questions for the questions, like:
- Can I downgrade after upgrading to Windows 10?
- Can I upgrade on a low storage device?
- How long does it take to install Windows 10?
- Are all my files safe after upgrading to Windows 10?
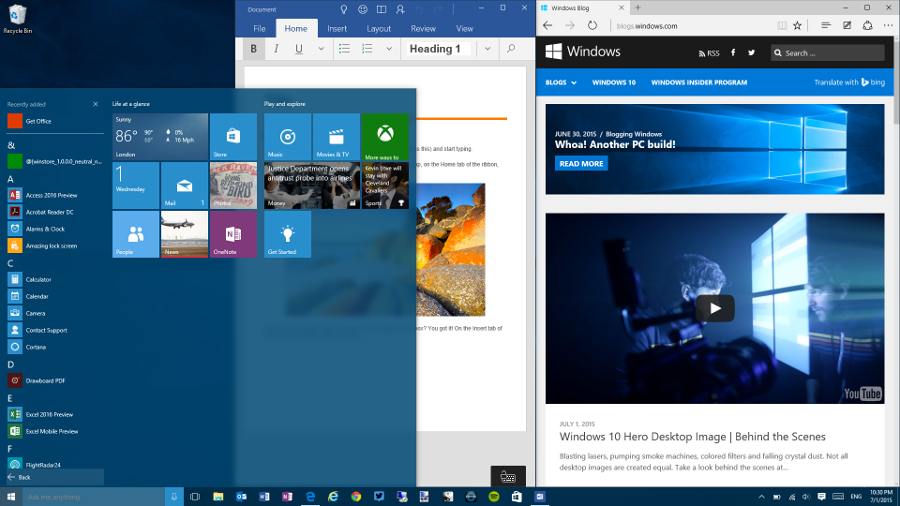
Screenshot of Windows 10 Features
So if you are now decided and taking this last minute chance, or still undecided, or don’t know what to expect, we provided a short but thorough step-by-step guide on how to gear up your system with Microsoft’s latest operating system. Just so you know.
WINDOWS 10 STEP BY STEP INSTALLATION
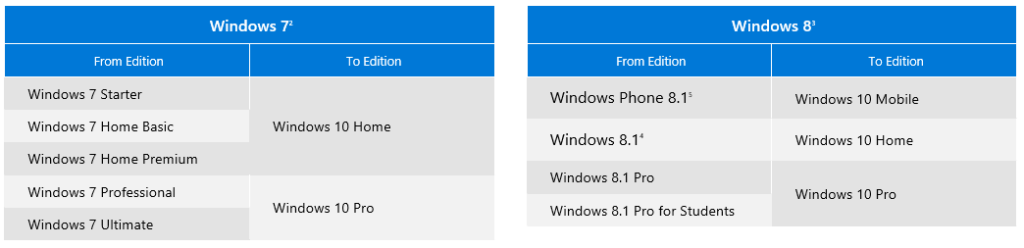
What Windows version is eligible to upgrade then?
- This guide is applicable to Windows 7 Starter, Windows 7 Home Basic, Windows 7 Home Premium, Windows 7 Professional, Windows 7 Ultimate, Windows Phone 8.1, Windows 8.1, Windows 8.1 Pro, Windows 8.1 Pro for Students.
Step 1: Download Windows 10 ISO
Go to the website of Microsoft for the Installation Media Tool Download – https://www.microsoft.com/en-us/software-download/windows10ISO
Step 2: 32-bit or 64-bit?
Click the “Download Tool Now” and choose which version you need: 32-bit version or the 64-bit version.
Step 3: Upgrade this PC now
Another window pops out and it will make you choose to “Upgrade this PC now” or “Create installation media for another PC.” Choose “Upgrade this PC now,” and click the “next” button at the bottom of the window.
- If you choose “Create installation media for another PC,” the next step will make you choose to generate the installation media to a USB Flash Drive or to an ISO file which requires you to burn the installation media to a DVD. (NOTE: Choosing USB Flash Drive will erase everything on the USB Drive!)
Step 4: Check the appropriate architecture
Select your language, edition (Windows 10 Home / Windows 10 Home N / Windows 10 Home Single Language / Windows 10 Pro / Windows Pro N) and architecture and click the “next” button at the bottom of the window.
Step 5: Wait and have some coffee
Wait for the installation to download. Run it and it will indicate that it is preparing.
Step 6: Make sure to install the latest updates!
Select “Download and install updates” and click the “next” button at the bottom of the window. Wait a few minutes for it to update and make sure your PC is ready to install Windows 10.
Step 7: THE IMPORTANT PART
Once it says that it is “Ready to Install,” you can choose which files to keep. Click “change what to keep” below “Keep personal files and apps.” But if you wish to proceed, make sure all your files have been backed up to avoid wiping all your files. If that’s done, you can click the “install” button at the bottom of the window.
- If you choose to “change what to keep,” select between “Keep personal files and apps” / “Keep personal files only” / “Nothing.”
Step 8: It will restart a few times, calm down
Wait for Windows 10 to install. It would take for about 30 minutes. After installing, a new window will show up indicating the percentage of the process inside a circle and it says: “Installing Windows” at the top of it
(NOTE: Your PC will normally restart a few times, don’t panic)
Step 9: Setting it up and getting it prepared
You’ll get to the configuration page. Select your country, preferred app language, keyboard layout you would like to choose, and which time zone are you in.
Step 10: Set up your preference. Create your Microsoft account
You’ll be asked to use “express settings,” but if you want to customize your settings, go ahead and click “customize settings” at the lower left side of the screen. With this, your going to be asked about personalization, location, browser and protection, and connectivity and error reporting. After that, click “next” and you’ll be asked to create a Microsoft account. Fill up your details if you want to create an account and if not, you can just click “skip this step.”
- If not, just click “express settings” at the lower right of the screen.
Step 11: Then fill in with your details
Next you’ll be asked to “create an account for this PC.” Fill up your details and click “next.”
Step 12: Welcome to your new Windows 10!
Wait for it to set things up and the next step will be directing you to your new desktop… Congratulations! Now you have officially upgraded to Windows 10! You can now enjoy your new upgrade and get the best from Microsoft!
(Optional) Step 13: Check if your Windows is activated
Type in “activate” at the search bar below and click “See if windows is activated” to check if Windows is activated to make sure that Windows will register your hardware and make sure if you downloaded it legally.
NOTE: Look through the file explorer and click “This PC,” and find the “OS_Install” drive. Click it and you will see your actual old files in the folder named “Windows.old”
References:
“How to install Windows 10 on your PC” – Howtogeek.com
“Windows 10: How to Clean Install with Upgrade” – ThioJoeTech
“How to install Windows 10 on your PC” – Mark Hachman, pcworld.com
“How to clean install Windows 10 the right way” – Taimur Asad, rendmondpie.com